Headless CMS > Essentials
Create Content Model
Learn how to create a content model in Headless CMS.
- how to create a content model
- how to define content model’s fields
In this tutorial, we will learn how to create a content model. As an example, we will create a Product content model with the following fields:
| Field | Field Type |
|---|---|
| Name | Text |
| Description | Long text |
| Price | Number |
Content model creation is a two-step process: in step 1, we will create the model, and in step 2, we will define model fields.
Step 1: Create Content Model
From the Side Menu, Click Content Modeling > Models.
✔️ The Content Models screen opens.
Click + New.
✔️ The New Content Model screen opens.
In the Name textbox, type Product.
In the Singular API Name textbox, type Product.
In the Plural API Name textbox, type Products.
In the Content model group drop-down, if you have already created a group, click that group, else click Ungrouped.
In the Icon dropdown, click the box icon (📦).
In the Description textbox, type Demo Product Content Model.
Unselect the Create model with default fields checkbox.
Click + Create Model.
✔️ Screen to configure the Product content model’s fields opens.
Step 2: Define Fields
Drag and drop the Text field in the Edit tab.
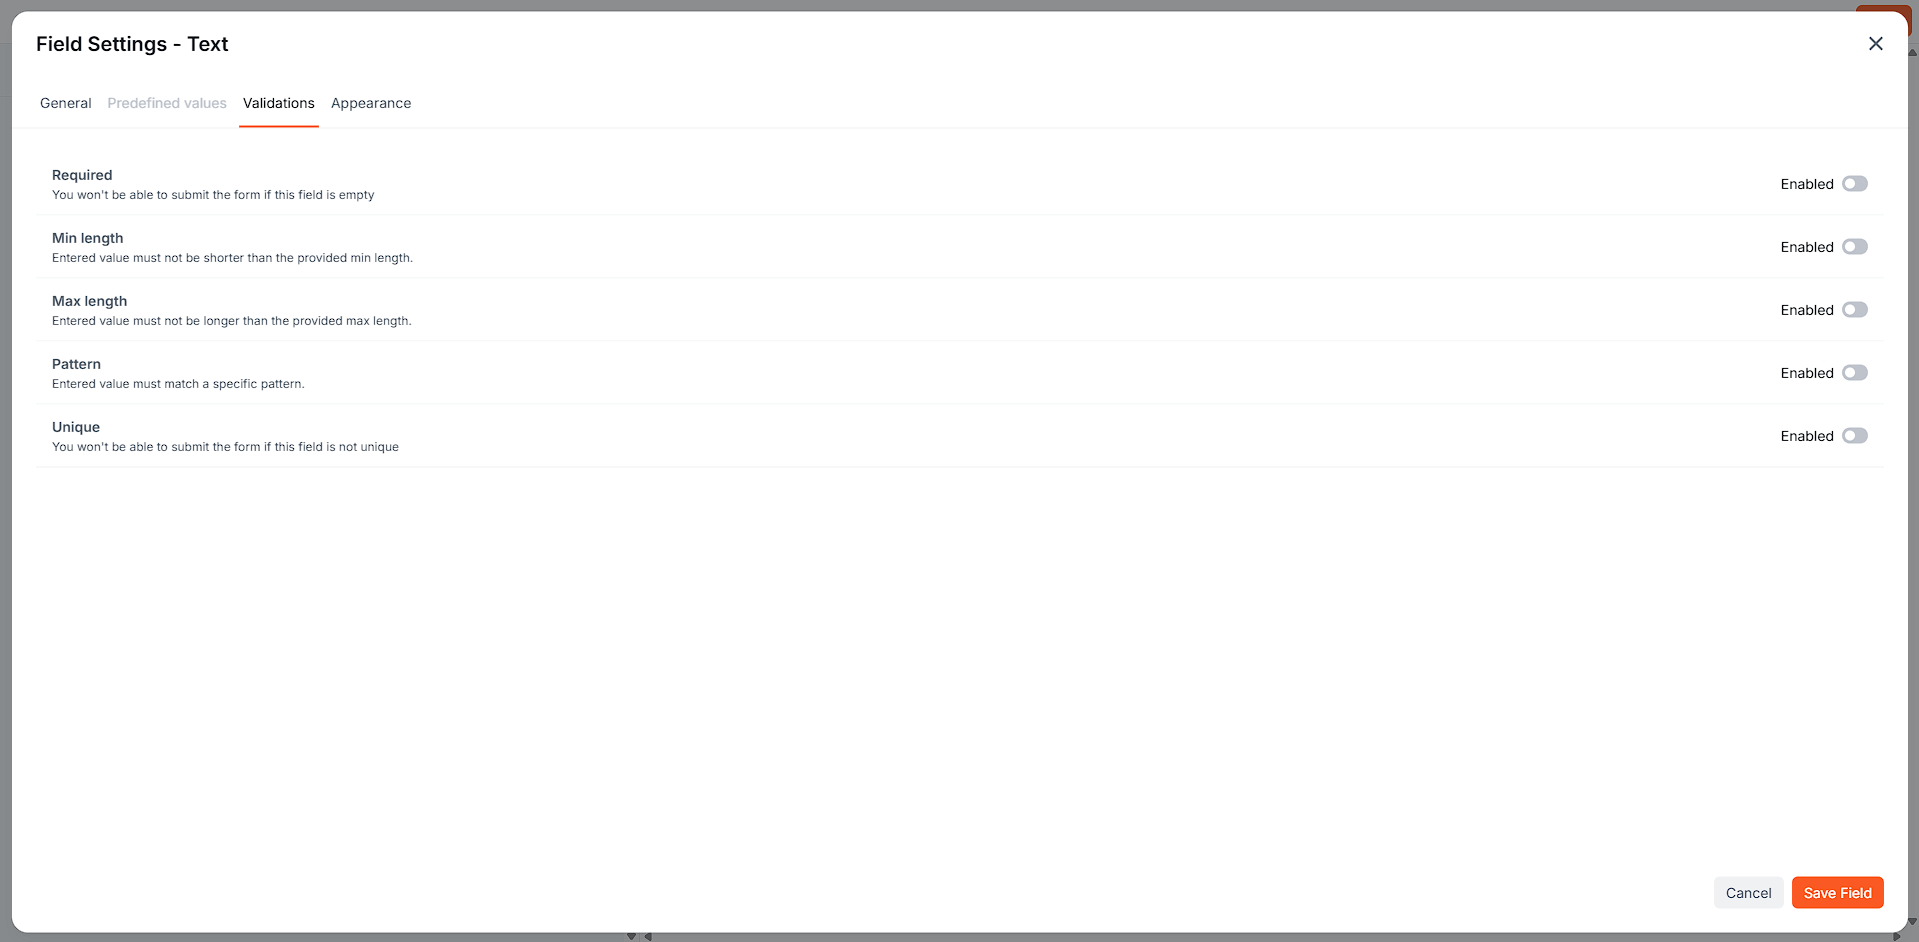
✔️ Field Settings - Text screen opens.
In the Label textbox, type Name and click Save Field.
Drag and drop the Long Text field in the Edit tab.
✔️ Field Settings - Long Text screen opens.
In the Label textbox, type Description and click Save Field.
Drag and drop the Number field in the Edit tab.
✔️ Field Settings - Number screen opens.
In the Label textbox, type Price and click Save Field.
Click Save.
✔️ The message “Your content model was saved successfully!” displays.
Congratulations! You have created your first content model.
Additional Information
Field Validation
You can add various validations to a field from the VALIDATORS tab on the Field Settings screen. Depending on the field type, you can add different types of validations to your field.
 Field Validators